How to Install Undermount Sink: A Step-by-Step Guide
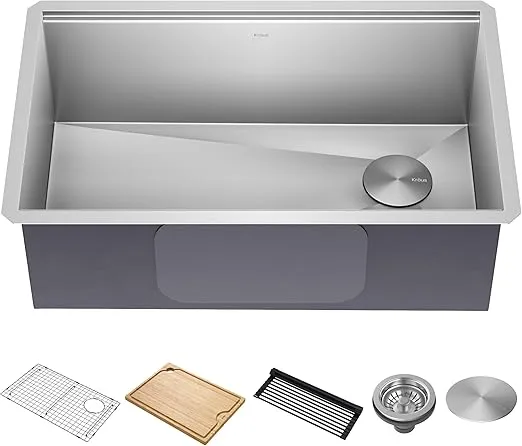
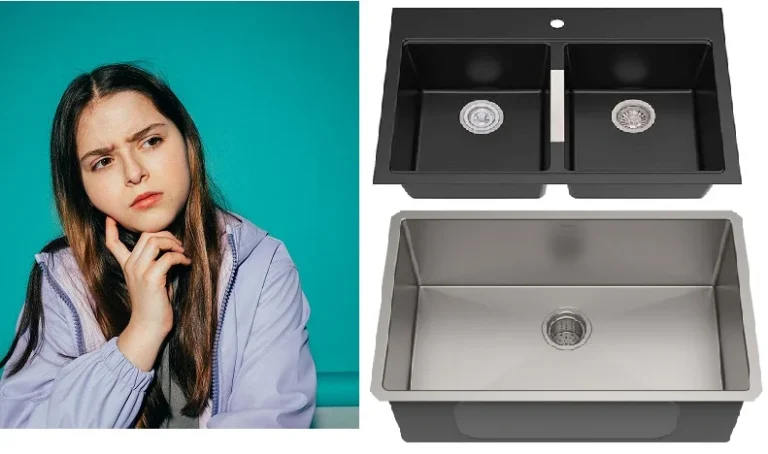
How to install undermount sink? Always becomes headache for plumbers especially in case when they are replacing an undermount or drop in kitchen sink. Obviously, undermount sink installation is quite difficult as compare to drop in sinks but this is also the fact that undermount kitchen sinks are users top rated choice and are of high demand. This article is based on the Susan’s personal experience and proper testing who has expertise in kitchen designing for years. This article will educate you about how to install undermount sink with step by step guide, so let’s dive in without wasting time.
Why Choose an Undermount Sink?
- Undermount sinks offer several benefits:
- Sleek Design: They blend seamlessly with countertops, enhancing the aesthetic appeal of any space.
- Easy Maintenance: Wiping crumbs or spills directly into the sink is hassle-free without obstructing a sink rim.
- Durability: When installed correctly, they provide long-lasting functionality.
Whether renovating or building a new space, installing an undermount sink can transform your countertop area.
Tools and Materials You’ll Need for undermount kitchen sink installation
Tools
- Screwdriver Drill with appropriate bits
- Silicone adhesive gun
- Clamps or supports
- Measuring tape
- Level
- Utility knife or scraper
- Safety goggles and gloves
Materials
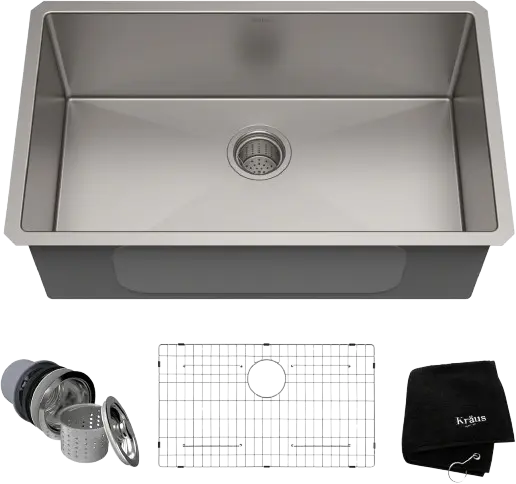
- Undermount sink
- Sink template (often provided by the manufacturer)
- Waterproof silicone adhesive
- Mounting clips or brackets
- Cleaning supplies (cloths, degreaser)
Preparing for Installation
Check Compatibility
Ensure your countertop material is suitable for an under-mount sink. Solid surfaces like granite, quartz, and marble are ideal. Using the provided template or your measurements, confirm that the sink’s dimensions match the countertop cutout.
Clean the Area
Thoroughly clean the underside of the countertop and the sink’s edges to remove dust, grease, or residue. A clean surface ensures a strong adhesive bond.
Create a Template
If no template is provided, make one using cardboard. This will guide the sink’s placement and ensure it aligns perfectly with the countertop.
How to install Undermount Sink: Stepwise guide
Step 1: Position the Sink
Place the sink beneath the countertop, aligning it with the cutout. Use a level to ensure it’s straight and evenly spaced. Mark the placement with a pencil or masking tape for reference.
Step 2: Apply Silicone Adhesive
Run a bead of waterproof silicone adhesive along the edge of the sink. Lift the sink carefully and press it firmly against the countertop’s underside. Ensure it aligns with your marks and holds its position.
Step 3: Secure the Sink with Clips
Attach mounting clips or brackets to the sink. Tighten them evenly, avoiding over-tightening, which could damage the countertop. The clips provide extra support and stability while the adhesive cures.
Step 4: Seal the Edges
Apply a continuous bead of silicone sealant around the sink’s edges to create a watertight seal. Smooth the sealant with your finger or a caulking tool, then wipe away any excess with a damp cloth.
Step 5: Connect the Plumbing
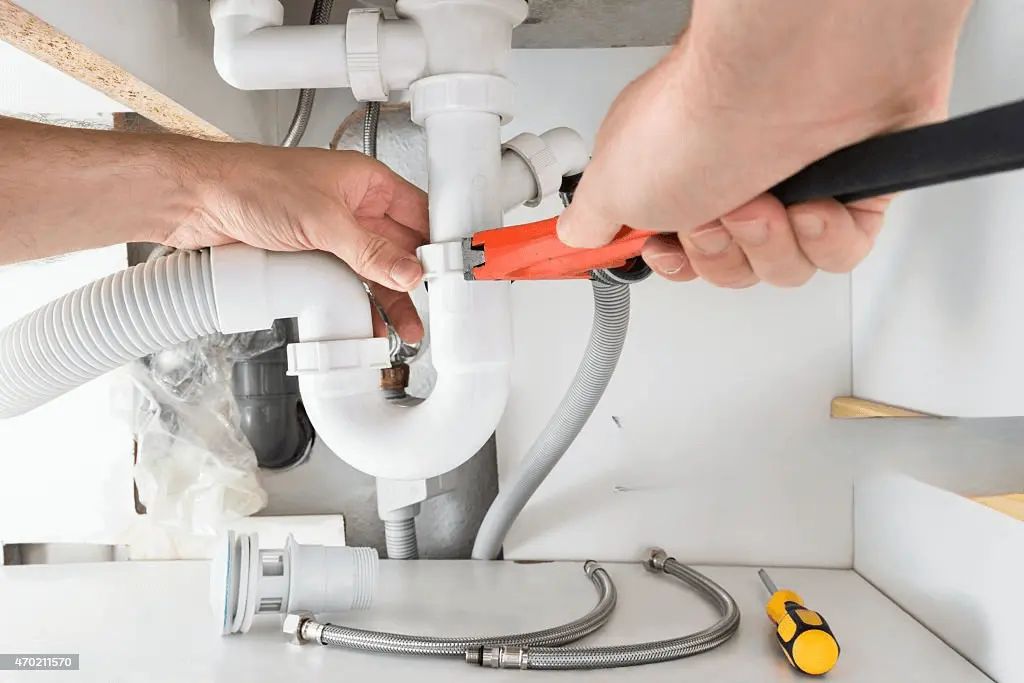
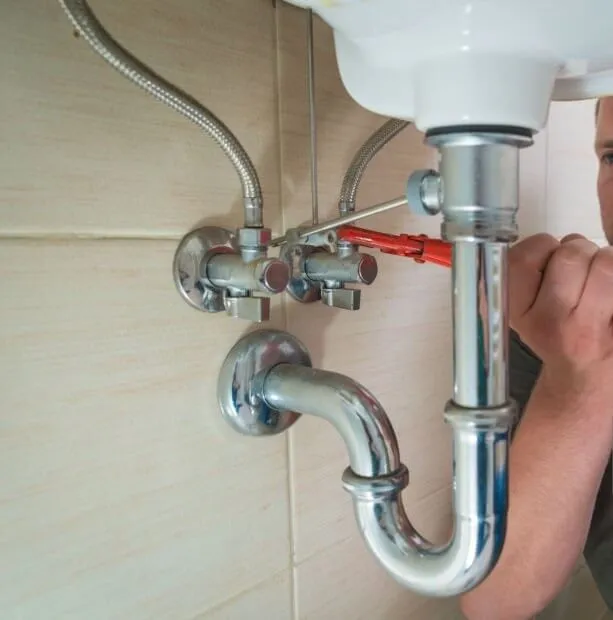
Attach the drain assembly and connect the sink to your home’s plumbing system. Tighten all connections securely but avoid over-tightening, which could cause leaks.
Tips for a Successful Installation
- Use a helper: Undermount sinks can be heavy. Having someone assist you ensures proper alignment and safety.
- Allow curing time: Let the silicone adhesive cure for 24-48 hours before using the sink.
- Double-check alignment: Use a level to verify the sink’s positioning before securing it.
- Follow manufacturer instructions: Adhere to the adhesive type, clip installation, and curing time guidelines.
Common Mistakes to Avoid
Skipping the Template Step
Failing to use or create a template can result in a misaligned sink, compromising its functionality and appearance.
Using the Wrong Adhesive
Always use high-quality silicone adhesive designed for kitchens or bathrooms. Substandard adhesives may weaken over time.
Over-Tightening Clips
Tighten clips just enough to secure the sink. Over-tightening can crack the countertop or damage the sink.
Rushing the Curing Process
Using the sink before the adhesive fully cures can weaken the bond, leading to leaks or misalignment.
Maintaining Your Undermount Sink
Regular Cleaning
Clean the sink and countertop edges with mild soap and a soft cloth to prevent dirt buildup. For stainless steel sinks, follow the grain to avoid scratches.
Inspect the Sealant
Periodically check the silicone sealant for cracks or wear. Reapply as needed to maintain a watertight seal.
Prevent Water Damage
Wipe up spills around the sink’s edges promptly to prevent water from seeping under the countertop.
Conclusion
Installing an undermount sink may seem daunting, but it’s a manageable DIY project with the right tools, preparation, and attention to detail. By following this guide, you can achieve a professional finish that enhances your kitchen or bathroom’s functionality and style.
If you’re unsure about any part of the process, consult a professional to ensure a secure and long-lasting installation. A properly installed undermount sink is not only a functional upgrade but also a design feature that adds value to your home.
Frequently Asked Questions
Can I install an undermount sink on any countertop?
No, undermount sinks are best suited for solid surfaces like granite, quartz, or marble.
What adhesive should I use?
Use a waterproof silicone adhesive specifically designed for kitchens or bathrooms.
How long does the installation process take?
The process itself may take a few hours, but adhesive curing requires 24-48 hours before the sink can be used.
Can I replace a drop-in sink with an undermount sink?
Yes, but your countertop must be compatible, and you may need to adjust the cutout.

Have additional inquiries?
We are here to help. Let’s engage in a conversation.
