Drop-in Kitchen Sink Installation Instructions: A Complete Guide 2025
Installing kitchen sink can initially seem intimidating, but this drop-In kitchen sink installation instructions will guide you on the right and easy way, that it will become an achievable and rewarding DIY project. This comprehensive guide will walk you through every step of the process, from preparation to troubleshooting, so you can successfully install a kitchen sink that enhances both the functionality and style of your kitchen.
Tools and Materials Needed for a Smooth Installation
Having the right tools and materials on hand is crucial for a seamless kitchen sink installation. Preparation prevents interruptions and ensures a more efficient process. Here’s a list of essential tools and materials you’ll need:
Essential Tools:
- Adjustable Wrench: Useful for tightening nuts and bolts.
- Basin Wrench: Designed for hard-to-reach areas under the sink.
- Screwdriver (Flathead and Phillips): For attaching and securing sink components.
- Utility Knife: Helpful for cutting caulk or opening sealant tubes.
- Plumber’s Tape: Ensures watertight connections for threaded fittings.
- Silicone Sealant: Provides a waterproof seal around the sink edges.
Optional Tools for Advanced Installations:
- Jigsaw: Required if you need to modify the countertop cutout.
- Spirit Level: Ensures your sink is perfectly aligned and level.
With these tools in place, you’re ready to proceed with confidence.
Preparation Before Installation
Proper preparation sets the stage for a smooth installation. Begin by:
- Turning Off the Water Supply: Shut off both the hot and cold water valves beneath the sink. Drain any remaining water by opening the faucet.
- Removing the Old Sink (if applicable): Carefully detach the existing sink by loosening the mounting clips and disconnecting the plumbing. Take note of how the old sink was connected, as it can provide useful insights for the new installation.
- Inspecting the Plumbing and Countertop: Look for any damage or corrosion in the pipes. Ensure the countertop cutout matches the dimensions of your new sink. If not, adjust the cutout using a jigsaw.
- Cleaning the Workspace: Clear away old sealant, debris, and residue to create a clean surface for installation.
These preparatory steps are crucial for a hassle-free installation.
Kitchen Sink Installation Instructions: Step-by-Step Guide
Step 1: Position the Sink
- Lower the sink into the countertop cutout. Ensure it fits snugly and is level. Adjust as needed using a spirit level and shims for balance.
Step 2: Attach the Faucet and Accessories
- Install the faucet, soap dispenser, or other accessories before securing the sink. This is easier to do when the sink is not fully fastened.
Step 3: Install the Drain Assembly
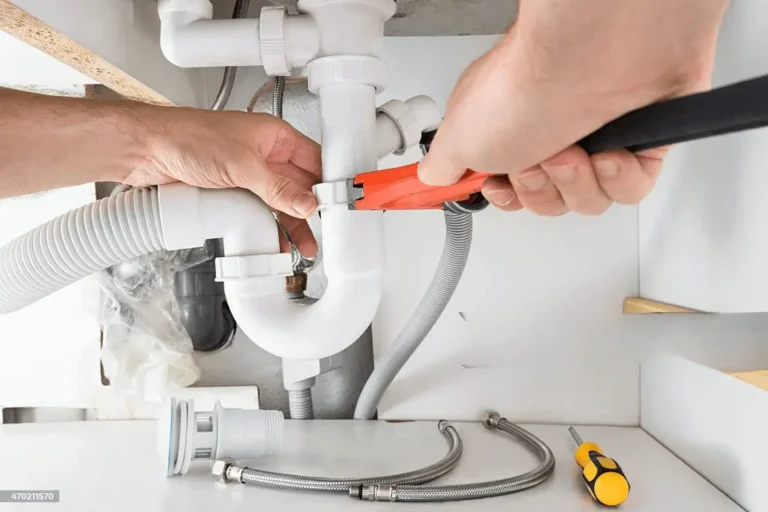
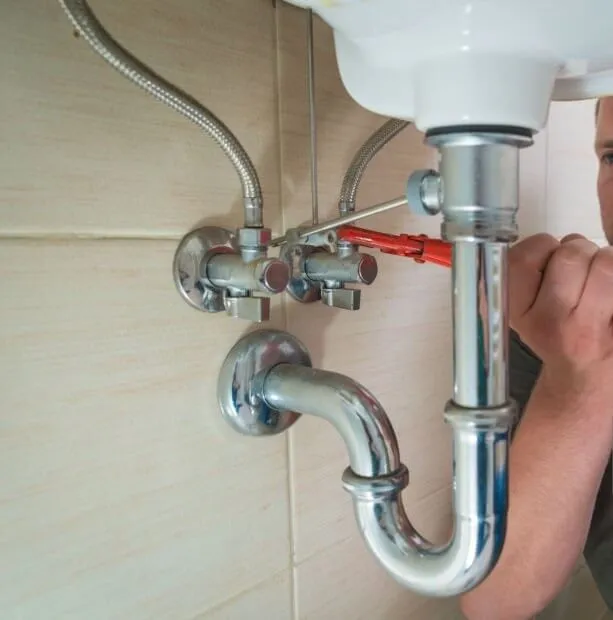
- Connect the strainer, tailpiece, and P-trap. Apply plumber’s tape to threaded connections for a watertight seal. Ensure all parts are aligned and tightened securely.
Step 4: Connect the Water Supply Lines
- Attach the water supply lines to the faucet. Use an adjustable wrench to tighten fittings, but avoid over-tightening to prevent damage.
Step 5: Seal the Sink Edges
- Apply a continuous bead of silicone sealant around the sink edges. Smooth it out with your finger or a caulking tool. Allow the sealant to cure as per the manufacturer’s instructions for a watertight seal.
By following these steps, your sink will be securely installed and ready for use.
Testing the Installation
Testing is a vital part of the installation process to ensure everything works correctly:
- Turn on the Water Supply: Open both hot and cold water valves and check for leaks around the faucet and connections.
- Run Water Through the Sink: Allow water to flow for a few minutes to ensure there are no drips or leaks.
- Test the Drain: Fill the sink with water and let it drain. Observe for any leaks around the drain assembly.
Testing thoroughly at this stage will prevent future issues and guarantee a fully functional sink.
Kitchen Sink Installation Instructions: Common Mistakes to Avoid
Avoid these common pitfalls to ensure a smooth installation process:
- Over-Tightening Connections: This can damage components, leading to leaks.
- Skipping the Sealing Step: Failing to seal the sink properly can result in water damage to your countertop.
- Misaligning Pipes: Poor alignment can cause drainage problems, leading to frequent clogs.
Attention to detail during installation can save time and prevent costly repairs later.
Troubleshooting Tips
If you encounter issues, here’s how to address them:
- Leaky Connections: Reapply plumber’s tape and tighten fittings securely.
- Uneven Sink: Adjust the mounting clips or use shims to level the sink.
- Low Water Pressure: Clean or replace the faucet aerator to remove blockages.
Effective troubleshooting ensures long-term functionality and prevents recurring problems.
Conclusion
With the right tools, thorough preparation, and this step-by-step guide, installing a kitchen sink becomes a manageable and satisfying DIY project. By following these kitchen sink installation instructions carefully, from positioning and sealing to testing and troubleshooting, you can achieve a professional-looking result.
